In this post, I will describe the steps needed to update a existing Microsoft Deployment Toolkit (MDT) 2012 environment to MDT 2013 Update 2. This MDT update is needed to prepare for a new automated Windows 10 deployment.
Requirements
MDT 2013 Update 2 has the following requirements
- Windows Assessment and Deployment Kit (ADK) for Windows 10
- Windows PowerShell
- Microsoft .NET Framework
Install Windows ADK for Windows 10
On the existing MDT server, download the Windows ADK for Windows 10 update files. I have placed these files on D:\Downloads\ADK.
- Log on to the server with an account that has administrator rights.
- Start the ADK Setup (D:\Downloads\ADK\adksetup.exe), and click Continue.
- On the Select the features you want to change page, select the features below and complete the wizard using the default settings:
- Deployment Tools
- Windows Preinstallation Environment (Windows PE)
- User State Migration Tool (UMST)
Install MDT 2013 Update 2
Download the MDT 2013 Update 2 files to D:\Downloads\MDT
- Install MDT (D:\Downloads\MDT 2013\MicrosoftDeploymentToolkit2013_x64.msi) with the default settings
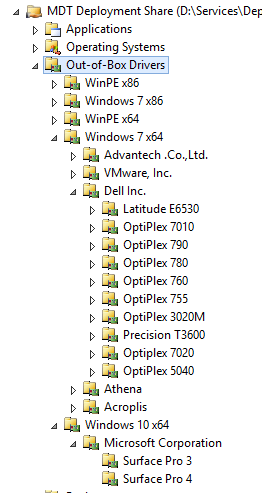
- Start the Deployment Workbench
- Right click on your Deployment Share and click ‘Upgrade Deployment Share’. This update can take a while, depending on the size of your MDT environment.